
Step-by-Step Guide: Installing Resin Bound Driveways in WA


Resin bound driveways are gaining popularity in Washington State due to their durability, low maintenance, and aesthetic appeal. If you're considering installing one, this step-by-step guide will walk you through the process to ensure a smooth and successful installation.
Preparation and Planning
Before you begin, it's crucial to plan and prepare properly. Start by assessing the area where the driveway will be installed. Ensure the ground is stable and has proper drainage to prevent future issues. You may need to consult with a professional to evaluate the sub-base conditions.
Next, gather all necessary materials and tools. You will need resin, aggregates, a forced action mixer, a trowel, and a suitable sub-base material. Make sure to choose high-quality materials to ensure the longevity of your driveway.
Setting the Sub-Base
The sub-base is the foundation of your driveway, so it's important to get it right. Typically, a depth of at least 150mm of compacted aggregate is recommended. Use a plate compactor to compact the sub-base material evenly.

Once the sub-base is compacted, lay a layer of permeable geotextile membrane. This helps to prevent weed growth and ensures that the base remains stable over time. Be sure to overlap the edges to provide complete coverage.
Mixing the Resin and Aggregates
Now it's time to mix the resin and aggregates. Using a forced action mixer, combine the resin with your chosen aggregates. Follow the manufacturer's instructions carefully to achieve the correct consistency.
Ensure that the mix is evenly coated and free of clumps. This step is crucial for achieving a smooth and consistent surface. Aim for a mix that is workable yet firm enough to hold its shape.

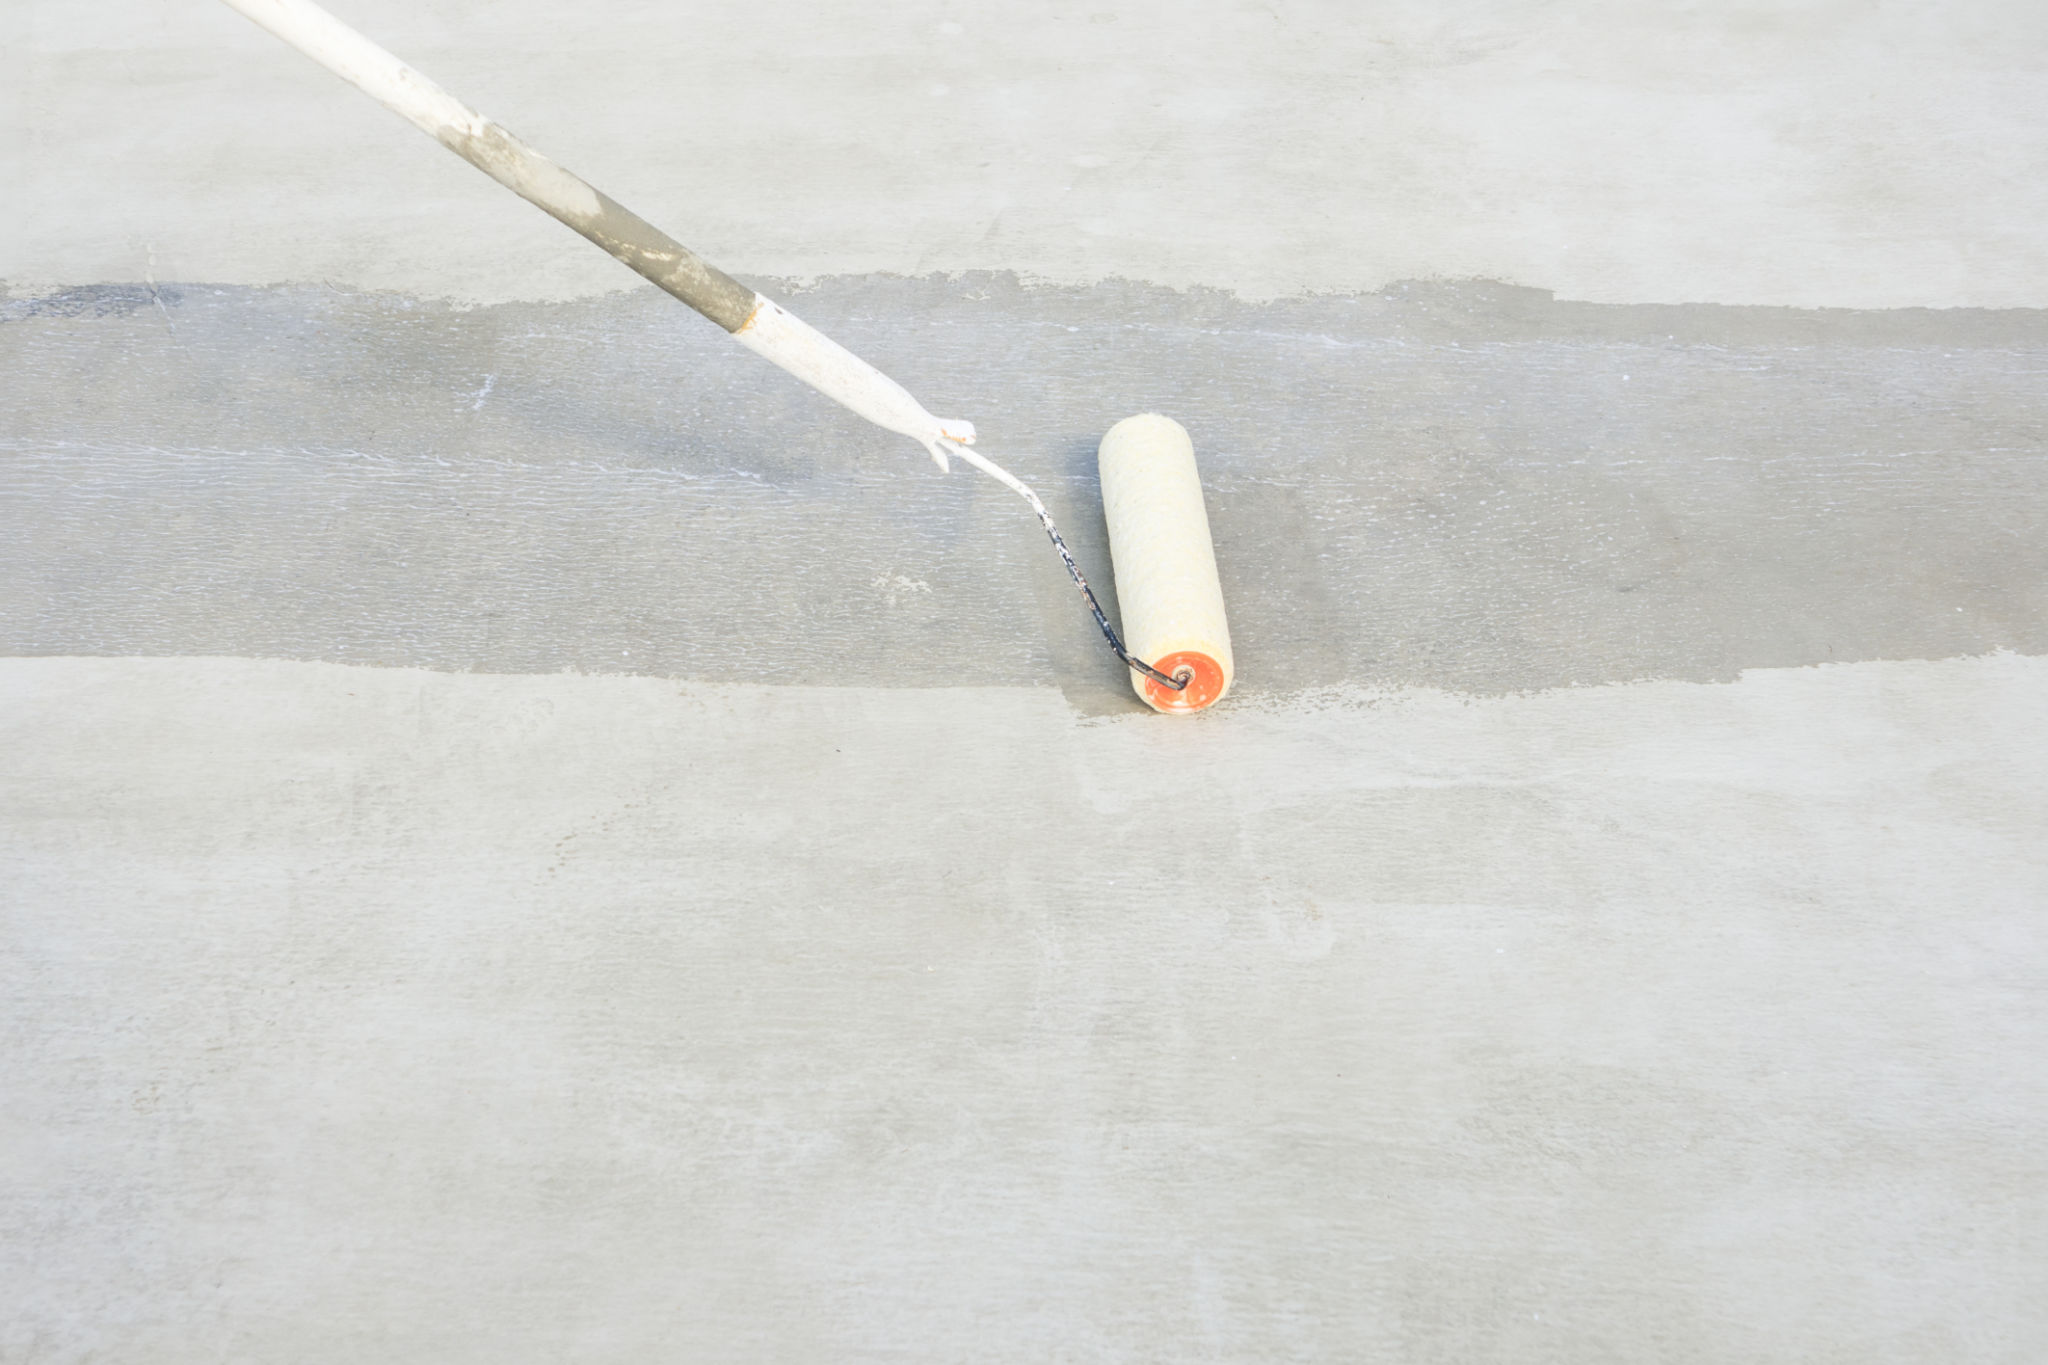
Applying the Resin Bound Surface
With the mix ready, it's time to apply it onto the prepared sub-base. Spread the mixture evenly using a trowel, aiming for a thickness of around 15-18mm. Work systematically to cover the entire area without leaving gaps or uneven patches.
Use a trowel to smooth the surface, ensuring that it's level and even. Pay attention to the edges and corners to create a clean finish. Work quickly but carefully, as the resin can set within a short time.
Finishing Touches and Curing
Once the surface is applied, allow it to cure properly. Avoid walking or driving on the surface for at least 24 hours to ensure it sets fully. Curing time may vary depending on weather conditions, so always refer to the manufacturer's guidelines.

After curing, inspect the driveway for any imperfections or uneven areas. Make any necessary adjustments before the surface hardens completely. Regular maintenance, such as cleaning and checking for damage, will keep your resin bound driveway looking great for years to come.
By following these steps, you can install a beautiful and durable resin bound driveway in Washington State, enhancing your property's curb appeal and functionality.